Editing a Translation Memory Database
You can open your

How to Edit a Translation Memory Database
- Do one of the following, depending on the part of the user interface you are using:
Ribbon Select the Resources ribbon. In the Translation Memory section select Edit TM and choose the database.
- Translation Editor In the TM Suggestions area at the bottom of the editor, right-click on the segment and from the context menu select Edit Text.
The Translation Memory Editor opens.
- You can do any of the following:
To Add a Segment
- In the local toolbar, click
 . A new row is added to the bottom of the editor.
 - Click on the row to select it.
- In the text fields at the bottom of the editor, enter the text for the source language on the left, and enter the text for the target language on the right.
- Press ENTER on your keyboard.
- Click
") to save your work.
to save your work.
To Edit a Segment
- Select the row that you want to edit.
- In the cells on the left, edit the text for the source language. In the cells on the right, edit the text for the target language.
- Press ENTER on your keyboard.
- Click to save your work.
To Delete a Segment
- Do one of the following:
- Select the row and click
 .
. - Select the row and press Delete on your keyboard.
- Right-click the row and select Delete Row from the context menu.
A line appears through the middle of the text.
- Select the row and click
- Click to save your work.
Note You can also delete TM segments from the Suggestions area at the bottom of the Translation Editor. Simply right-click on the segment to be deleted from TM and select Delete from the context menu.
To Search for a Term
In the Search field enter a term and press ENTER.
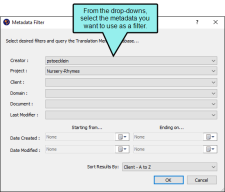
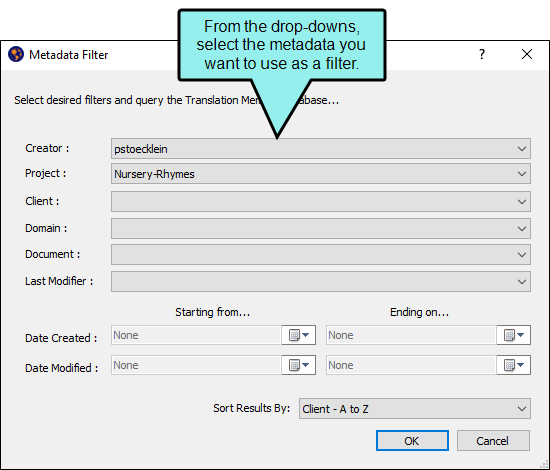
To Filter the Translation Memory Using Metadata
- In the local toolbar of the editor, click
 . The Metadata Filter dialog opens.
 In the dialog, select the metadata you want to use to filter the TM. You can filter by creator, project, client, domain, document, last modifier, date created, and date modified. You can also sort the results.
Click OK.
- To reset your filters and see the entire TM, in the local toolbar, click
 .
.
To Clean Up the Translation Memory Using Metadata
- In the local toolbar of the editor, click
 .
. From the drop-down, select one of the following options:
- TM—Find and Replace Use metadata to find and replace words within the TM
- TM—Delete Use metadata to search for segments you want to delete from the TM
- TM—Cleanup Use metadata to remove duplicate segments in the TM
- In the dialog that opens, select the metadata you want to use to filter the TM to complete the clean up.
To Filter Languages
- In the local toolbar click in the Language drop-down field.
- Select any of the available options to display the segments for certain languages.
To Import a Translation Memory eXchange (TMX) file
- In the local toolbar, click
 . The Import TMX File dialog opens.
 - Click
 .
. - In the dialog that opens, navigate to the TMX file that you want to import, and double-click it.
(Optional) By default, the current database is shown in the Translation Memory field. If you are working with other databases and want to use a different one instead, select it from this field.
You might use this field, for example, if you forgot to change to the database you want before starting the import process.
Click Start Import.
A message lets you know the results of the import.
To Export Segments to a TMX File
- In the local toolbar, click
 . The Export to TMX Dialog opens.
 - Next to the TMX File field, click .
- In the dialog that opens, navigate to the folder where you want to export the file. Also in the File name field, enter a name for the new TMX file. Then click Save.
- In the Languages to export field, all of the languages involved in your translation memory database are listed, showing both the source and target languages. Select the languages that you want to include in the exported TMX file.
- In the Source language field, select the language(s) that you want to be available as the source in the exported TMX file. You can select an individual language or you can select "Any," which allows tools to use translations in any direction in the TMX file.
- Click Start Export. A message lets you know the results of the export.
To Use the Thesaurus
Right-click a word, and from the context menu select Thesaurus.
- In the local toolbar, click
- If a certain number of items have been found, page navigation buttons in the local toolbar may be enabled. You can use these buttons to go to additional pages to display more items. You can also click View All in the local toolbar to see all results on a single page. Keep in mind that the more items you have in the project, the longer it will take to load this view.
Note You can spell check the Translation Memory Editor using manual spell check.
Note The Find and Replace window pane is disabled when the focus is on the Translation Memory Editor. However, you can use the Quick Find and Quick Replace widgets to find and replace terms in the TM.
Note You can change the font size and segment display options for the Translation Memory Editor using the Options dialog.
Note If you are not seeing segments in the editor that you expect to see, try clearing the Search field. You might also need to select different languages from the local toolbar.

